Instructions for Installation of the Tri-mode© Component Cooler (Click here to check or download the PDF File)
The Tri-mode Component Cooler, as the name implies, can operate in one of three modes:
- Shelf Mode – As a heat-shielding shelf, cooling a hot component with ventilation openings on its top surface, while preventing that component from overheating a second component placed above it.
- Base Mode – As a bottom-mounted component cooler, forcing cool air up into a component with or without ventilation openings on its bottom surface.
- Device Mode – As a cooler for digital media extenders or other small devices.
It can run continuously when cooling devices which are always powered, or only when component temperatures exceed 90°F, when used with the optional thermal switch accessory.
NOTE: The Tri-Mode Component Cooler was designed to cool components in an open, or partially open, environment such as a shelf, a bookcase, or a cabinet with no doors and/or an open back. It cannot cool components in sealed enclosures, as it would circulate the same hot air within the enclosure, providing little cooling. Active Thermal Management offers a complete line of cooling equipment designed to cool entire enclosures, from the smallest to the largest, at www.activethermal.com.
Configuration – “Shelf” and “Base”
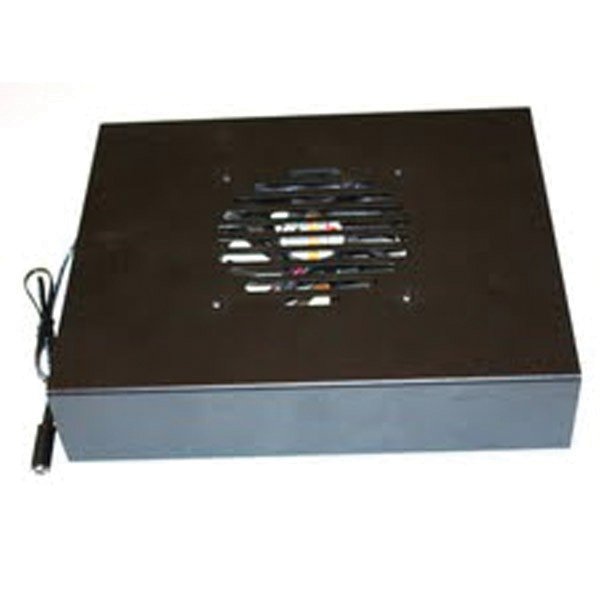
The Tri-Mode Component Cooler is shipped in Shelf configuration. It can be placed on top of a hot component with ventilation openings in its top cover and will cool that component while providing a shelf to support a second component. The second component is shielded from the heat generated by the lower component, allowing more equipment to be placed on a shelf or within a bookcase.
Simply place the Cooler on the lower (hot) component, then place the preamp, CD player, or other component on top of the Tri-Mode Component Cooler.
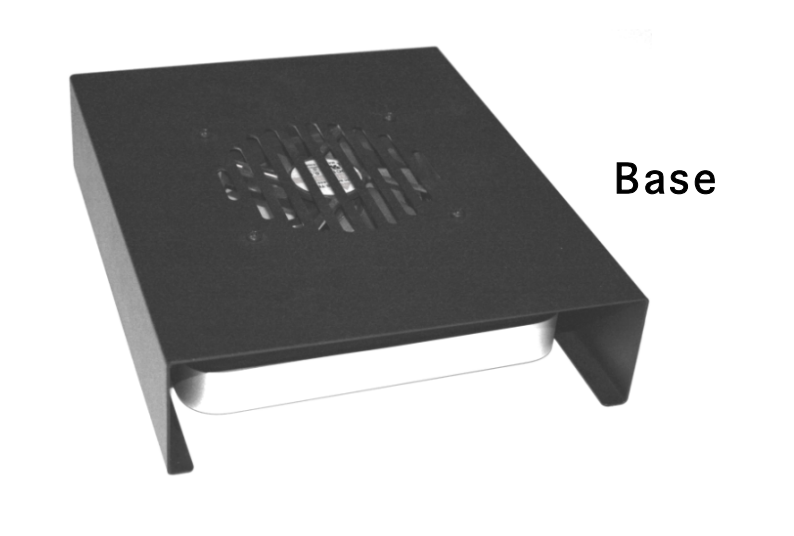
When changed to the Base configuration, the Cooler can be placed beneath a satellite receiver, DVR/PVR, amplifier, receiver, or any other small heat-producing device with ventilation openings on its bottom surface. Its quiet fans are powerful enough to force a gentle stream of air up through the component and out the top or side openings, providing a substantial cooling effect.
In this mode, it is helpful to place a foam air dam on the top surface of the Tri-Mode Component Cooler to force the air stream to go up into the component to be cooled and not escape through the space between the component and the Cooler. A length of adhesive-backed foam weather stripping is supplied with each unit. When installed, the foam should not allow air to escape under the receiver.
If the component has no openings on its bottom surface, install the four bumpers provided so that the component is supported above the fan. This will allow cool air to flow up against the component’s bottom surface, then away from the component. Do not use the foam stripping in this configuration.
The base configuration is also for cooling small items such as media extenders. After reconfiguring the Tri-mode Component Cooler, simply slide the device under the fan.
Changing from “Shelf” to “Base” Configuration
Using a Philips screwdriver:
- Unscrew and remove the eight screws and spacers holding the fan.
- Turn the fan over so that the label, which faces DOWN in shelf mode, now faces UP.
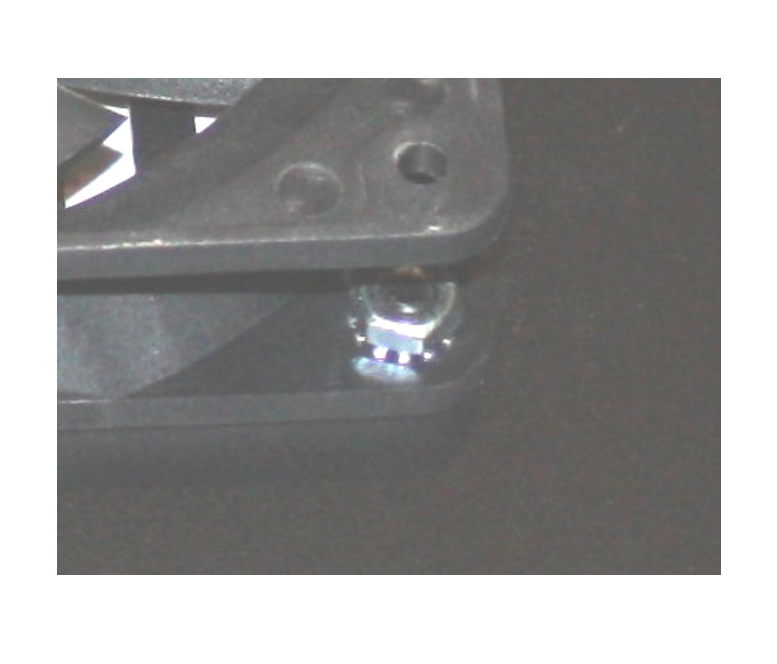
- Use four screws and nuts to fasten the fan under the top surface of the Cooler.
- Leave the screws somewhat loose until all four are installed, then tighten them moderately. Do not over tighten.
When finished, the fan will be attached as in Figure 1, and the label in the center of the fan will be visible through the top surface of the Tri-Mode Component Cooler.
Changing from “Base” to “Shelf” Configuration
- Remove the four screws and nuts holding the fan to the top surface.
- Turn the fan over so that the label faces DOWN (away from the top surface).
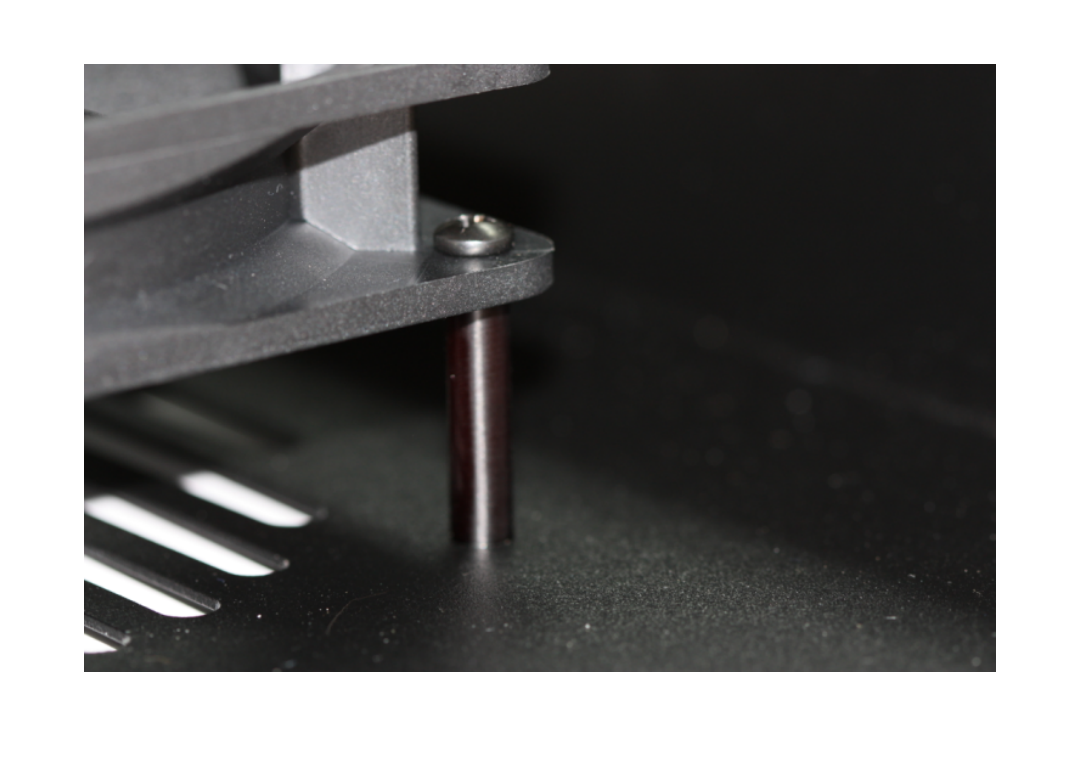
- Fasten the fan to the spacers, and the spacers to the Cooler, as in Figure 2.
- Leave all screws somewhat loose until all are installed, then tighten them moderately. Do not over tighten.
Operation
Plug the lead from the wall-type power supply into the socket wire attached to the Tri-Mode Component Cooler. Plug the power supply into an AC power outlet. The fans will run quietly regardless of temperature.
Installation and Operation of the (Optional) Thermal Switch Accessory
- Disconnect the plug from the power supply which was inserted into the Cooler’s power lead.
- Plug the power supply into the female socket connected to the thermal switch.
- Plug the male connector from the thermal switch into the Tri-Mode Component Cooler’s power lead.
- Fasten the thermal switch to the part of the component being cooled which normally reaches the highest temperature, using the small magnet supplied.
For a surface where magnets don’t adhere, use a small weight or appropriate adhesive tape to ensure good contact between the component and the switch.
When in Shelf mode, the thermal switch should be fastened to the component below the Tri-Mode Component Cooler.
When the thermal switch reaches approximately 90°F, the fan will turn on.
Contact Information
25570 Rye Canyon Rd. Suite D
Valencia, CA 91355
Phone: 661-294-7999 (voice)
Fax: 661-294-1115
Email: techinfo@activethermal.com
Website: www.activethermal.com